|
Use
the import function to transfer information from various sources
into Interactive Calendar database.
To
open the Import dialog box, click the "File -
Import" program's main menu
item.
The
Import process consists of a few simple steps.
Step 1.
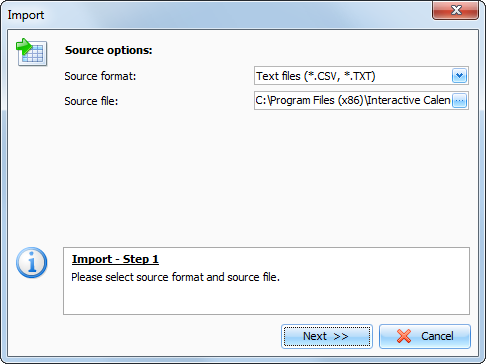
Choose the source format. Interactive Calendar
supports following formats:
Text files (*.CSV, *.TXT);
Interactive Calendar
databases (*.IDB);
C-Organizer databases
(*.CDB)
Choose a source file.
If
you have chosen the Interactive Calendar databases
or C-Organizer databases source format, click the Import button, and a dialog box showing the importing
process will appear.
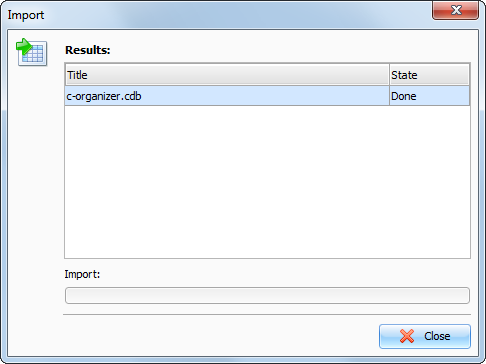
You
will get a notification message when the import is complete.
If
you have chosen text
files as a source, click the
"Next" button.
Step 2.
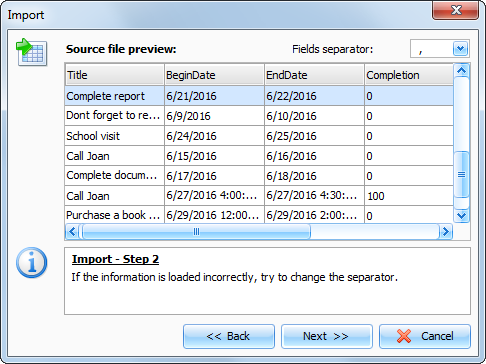
This
window shows a table filled with information from your source file.
If the information is loaded incorrectly, try to change the
fields'
separator.
Then
click the "Next" button.
Step 3.
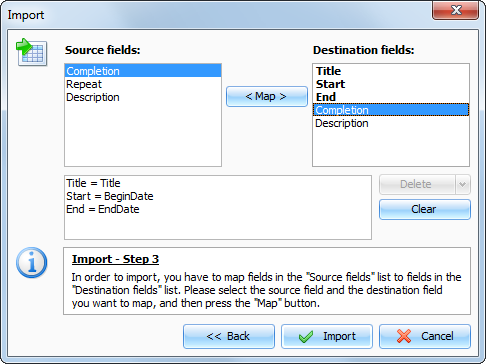
In
this dialog box you need to match the source fields to the
destination fields.
To
map fields, please select the source field and the destination
field you want to map, and then press the "Map" button.
Please note that you can map more than one Source
filed to a Destination field.
All
mapped fields are listed in the bottom box. You can delete mapped
fields by pressing the "Delete" button, or clear all mapped fields by pressing
the "Clear" button.
Important: the unmapped fields won't be imported.
When
you complete fields mapping, click the "Import" button. You will see the next window with the
results:
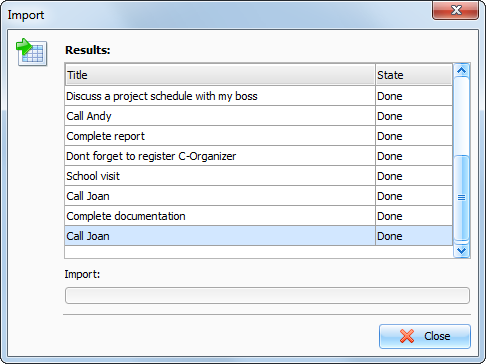
You will get a notification
message when the action is complete.
|

