|
Desktop Calendar:
To
add or edit appointment just double click any date cell on the
desktop calendar. It will
bring up a new appointment creation window or an appointments
management window if there are any tasks already scheduled on that
day.
If
the appointments management window is opened, click the
"New" button to create a new appointment or
"Edit" button to edit existing entry.
Main
window:
To
add a new appointment in the main window, press the
"New" button or double click the empty area inside
the viewing area. You can use shortcuts Ins or Ctrl + N as well. Also you can create a new entry by
entering data in the upper row.
To
edit an already existing entry press the "Edit" button or double click the record you want to
edit in the viewing area. Also you can use the Ctrl + Enter
shortcut.
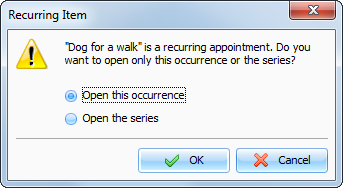
When starting editing a recurring
appointment, you will see a dialog box, which offers you to choose
between editing the current appointment or the whole series.
Accordingly, the first option creates a copy of recurring
appointment and opens it for editing. The second option will open
the editing window for the whole appointment series:

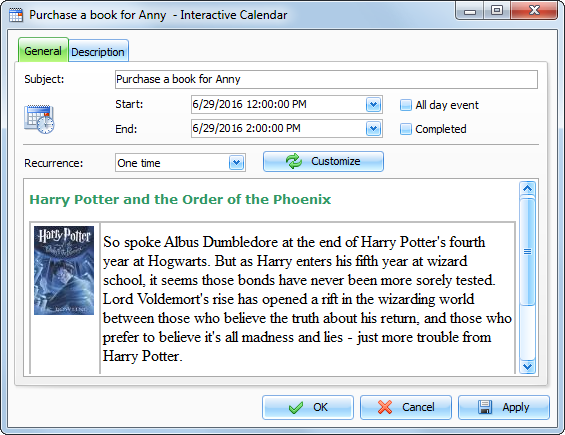
Dialog box for working with
appointments:

Fields
description:
Subject - a records title.
Start date and time
when the appointment is
started.
End date and
time when the appointment has
to be completed.
All day event
- marked when the appointment is all
day event.
Completed -
turn on this box to mark entry as
completed.
Recurrence - these settings enable you to make any
appointment a recurring one. When you change the model or press the
"Customize" button, the extended
recurrence options window opens, giving you an opportunity to
select and set an appropriate recurrence template.
Description
use this field to enter an additional
appointment information and its description. The description field
supports rich text formatting (RTF), pictures, tables and hyperlink
insertion. See Working with text and descriptions topic more
for details.
|