|
To
add a new folder press the "New Folder" button on the program's toolbar. You can also
use the Ctrl + Alt + N
shortcut. A new tree node will be
added, now just enter desired folder name:

To
edit (rename) an already existing folder, click this diary on the
tree or the "Records - Rename
Folder" main menu item.
Moreover you can change a folder picture for
better visualization. Just click the "Records - Change
Icon" main menu item and
choose one of predefined pictures or load own picture from file.
The picture size is 16x16 pixels.
To
delete a folder, click the "Delete
Folder" button. You can
alternately use the Ctrl + Alt + D
shortcut.
The
"Confirmation"
window will appear:
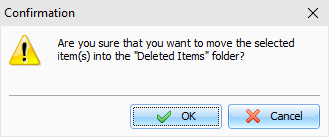
After
the confirmation the selected folder and all entries inside this
folder will moved into the "Deleted
Items" folder. This feature
will allow to restore deleted entries, in case if you deleted them
by mistake.
To
completely delete your entries, please delete them inside the
"Deleted Items" folder, or click the "Records - Empty 'Deleted
Items' Folder". After the
confirmation these entries will be permanently deleted from the
database:
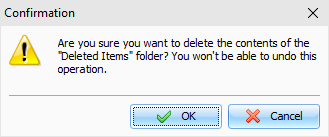
Warning: You won't be able to undo these
changes.
|

