|
In
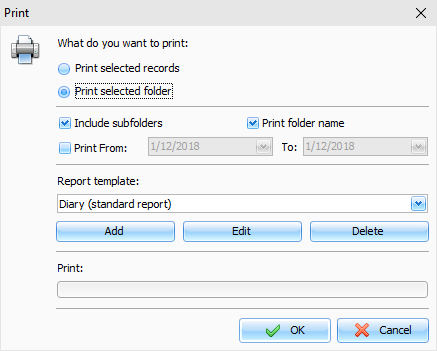
order to create or edit a print template, select a desired template
in the "Print" window and press the Edit button or the Add button below the templates list if you want to
create a new template:
After
you do that, the "Template Editor" window will open:
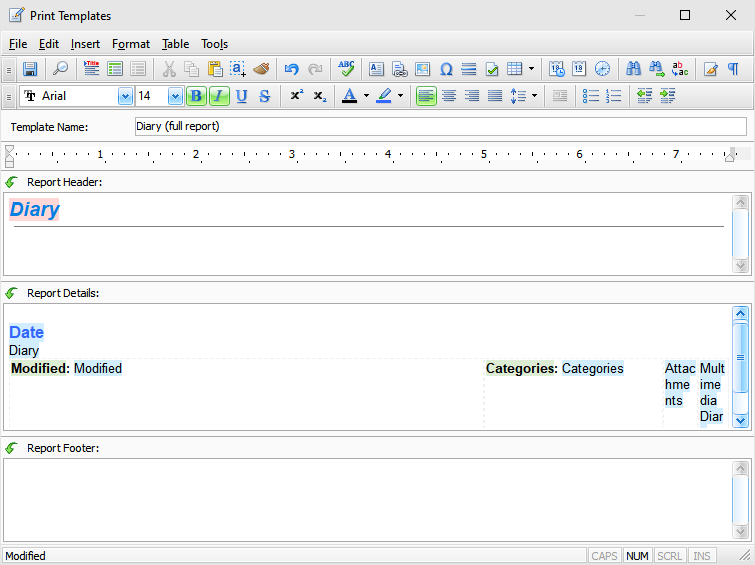
The upper part of the window
contains buttons for working with text (selecting font, alignment,
insertion and so on). To learn more about using these
buttons, see the Working with text topic. In addition, some new
options have been added. They are described below.
Template
Name: Name of the template
that will be displayed in the template list in the print window
(required).
Report
Header: This field is used to
create report header, which will be located at the top of the first
page. You cannot insert field values here, you can insert only
field names.
The Report Header field may
contain any information you would like to place in the beginning of
the report. For example, report name, pictures or field names
(in case you want to print a table record with column names on top
and values below).
Report
Detail: This field is used to
select all records that contain information to be printed.
Accordingly, during printing, information from this field will
be repeated for each
selected record. For
example, if you print one record, the information from Report
Detail will be included in the report only once; if there are 10
records, Report Details will be repeated 10 times.
This is where we recommend you
place field values. Besides this, you can place here any
information, like texts, images and so on. Just keep in mind
that when the report is created, the field is repeated.
Report
Footer: This field is used to
create the bottom part of your report. It will be located at
the bottom of the last page. As with Report Header, you
cannot insert field values here, you can insert only field
names.
The Report Footer field can be
used to place any information you would like to see at the bottom
of the printed report text, images and so on.
How to add
special information:
Button "Report
Title" ("Insert Report
Title" main menu item) is
intended for quick insertion of the Report title. This feature is
specially created for international users, because if the text is
entered manually, another user who has different language settings
won't be able to read it (the text won't be translated).
When the Report Title button is
used to insert the report title, it is highlighted with pink.
This is done to make the inserted title stand out from the
rest of the text. This highlighting is not visible during
printing.
You can change the title
parameters font size, color, etc. The only limit is that you
can not edit the text of the title. If you try to do this,
you will get error message when trying to save or preview the
report.
Button "Field Name" ("Insert Field
Name" main menu item) is used
to insert database field name into report. When you press the
button, you will see the dialog window, which contains all
available field names:

Select field name you would like
to insert and press "OK".
Just like with the Report Title,
you can enter the name manually, but it will not be translated when
the default language of the program is changed. The inserted
field name is highlighted with green to be visible in the
surrounding text. This highlighting wont be visible after
printing.
You can change the insertion
parameters font size, color, etc. The only limit is that you
can not edit the text of the inserted element. If you try to
do this, you will get error message when trying to save or preview
the report.
Button "Field Value" ("Insert Field
Value" main menu item) is used
to insert database field value into report.
When you press the button, you
will see the dialog window that contains all available
fields:
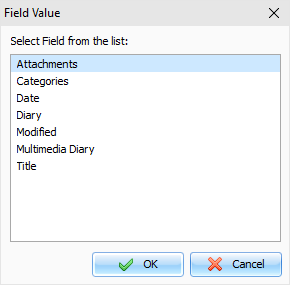
Select the name of the field,
which value you would like to insert and press "OK".
You
can not enter the value manually, because it wont be recognized during processing
and the value from the corresponding field wont be inserted from
the record.
The inserted field value is
highlighted with blue to make it visible in the surrounding
text.
You can change the insertion
parameters font size, color, etc. The only limit is that you
can not edit the text of the inserted element. If you try to
do this, you will get error message when trying to save or preview
the report.
Some advice for
creating print templates:
In order for your report to look
good and be easy to read and comprehend, we recommend you to place
field names and values in the table cells. This way the text
in the report will be aligned. If you want the table not to
be visible in the final report, you can alter table parameters,
setting the width of table and cell borders to 0 or by selecting
white color for them (see "Working with text").
When preparing a report, Advanced
Diary automatically merges tables present in Report Header, Report
Detail and Report Footer into one table (if the tables are
present). This is done to make editing the report easier and
to avoid double borders (if the tables are stacked on top of each
other, the merging borders will be thicker, because two lines will
merge into one).
Important: Advanced Diary will merge tables
ONLY
if the number of columns and their
width is IDENTICAL.
We recommend you create one table
first (for example, in Report Header), and then copy it in other
report parts. This way all tables will be absolutely
identical. The color of tables, cell and borders are of no
importance.
After creating a template, you can
see what the report created with this template will look like.
Simply press the "Print
Preview" button
("File -
Print Preview" main menu
item). The preview window will be opened and you will see a report
prepared for printing (see Previewing
and printing report topic).
The settings from the print window
will be used for printing the report. If you selected one
record only one record will be processed; if you selected a group
of record, the entire group will be included into the
report.
To save your print template, press
the "Save" button ("File - Save" main menu item) and enter template name.
|

